
After DocuSign, Microsoft Portal team has added another integration to the Power Pages portal, this time its Payments using Stripe, unlike DocuSign Integration the Stripe Integration only works with Enhanced Data model.
Enhanced Data model is new data Model for Power Pages. The standard data model in Power Pages uses custom tables for website component configuration, leading to longer load times for site provisioning and manual updates. In contrast, the enhanced model integrates system, nonconfiguration, and virtual tables, offering faster site creation, improved design studio experiences, and more efficient application lifecycle management and update processes
Sorry for deviating, but back to the Topic, In this blog we will review how Stripe integration works with Power Pages
Step 1: Set Up Your Stripe Account, If you don’t already have a Stripe account, go to Stripe’s website and sign up.
Step 2: Get API Keys : Once your account is set up, navigate to the Developers section in your Stripe dashboard.
Under API Keys, you will find the Publishable Key and Secret Key. You will need these keys to connect Stripe with Power Pages.
Step 3: To get started open the Power Pages Portal in designer editor for editing and navigate to External apps under the “Setup” area.
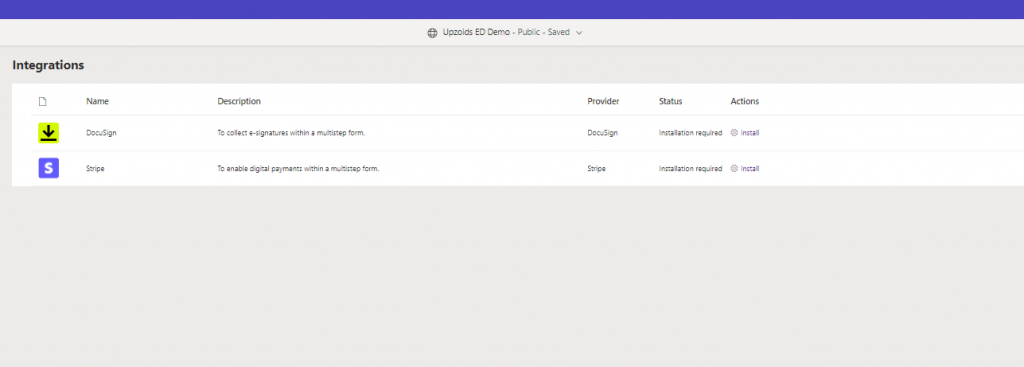
Step 4: Under Integrations, select External apps (preview). Find Stripe in the list and select the Install action.
Once the package installation is complete, restart the website from the Site Actions in the admin center.
Step 5: Add Stripe Keys to Power Pages: In the design studio, under Integrations, select Manage for Stripe.
You can choose to store your Stripe keys either in Dataverse (supports test mode only) or in Azure Key Vault (supports both test and live modes).
Step 6: Configure Azure Key Vault (Optional)
If using Azure Key Vault, follow these steps:
1. In the Azure portal, navigate to Key Vaults.
2. Create a new key vault or use an existing one.
3. Add your Stripe restricted key as a secret.
4. Assign the appropriate permissions to your Power Pages site app registration.
Step 7: Enter Stripe Keys in the Configuration Panel: In the design studio, enter the necessary keys in the Enable integration panel. Save and sync your settings.
Enable Payments on Your Form
Step 8: Create a Multistep Form: In the design studio, go to Pages and navigate to the webpage where you want to enable payments. Add or edit a multistep form, and create a step for payments.
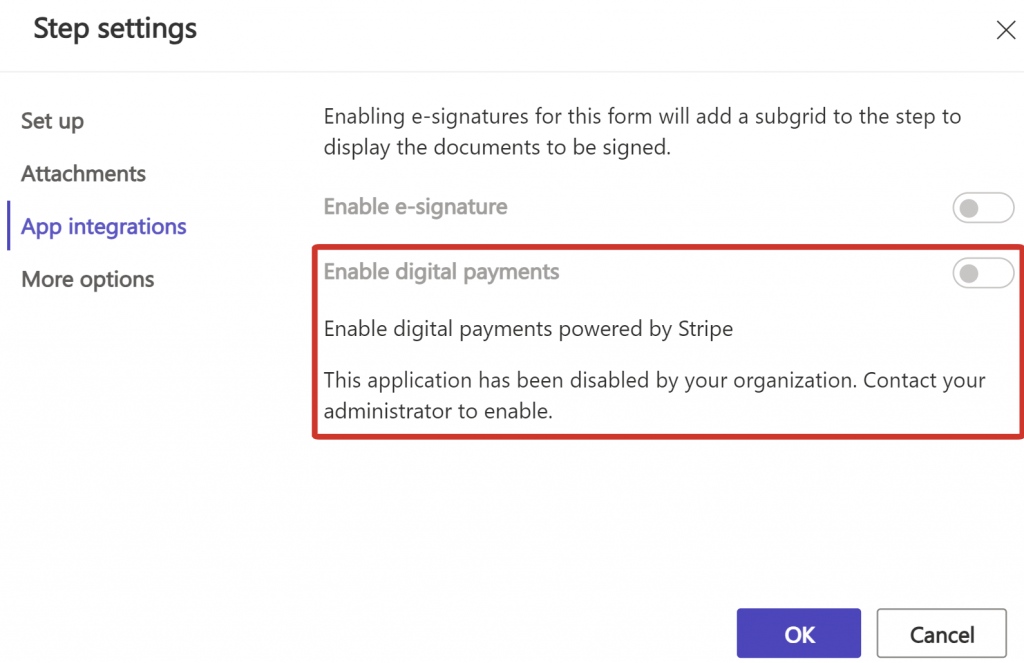
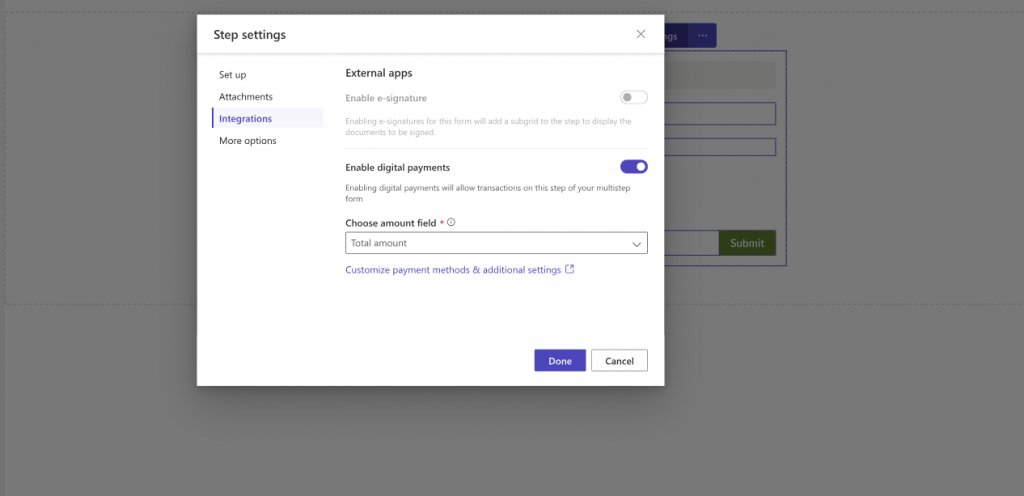
Step 9: Configure the Payment Step : In the form settings, go to Step settings.
Select App Integrations and toggle Enable digital payments to on.
Choose the amount field that represents the payment amount you want to collect.
Step 10: Set Up Permissions : Ensure you have the appropriate table permissions and web roles for the Dataverse tables used in the form.
Step 10: Test Your Integration
Use Stripe’s Test Mode : Test your setup using Stripe’s test mode and test cards to ensure everything works as expected.
Switch to Live Mode : Once testing is complete, switch your Stripe keys from test mode to live mode and update the keys in your Power Pages settings.
Step 11: Go Live
Publish Your Changes : After verifying that the integration works, publish your Power Pages site with the new payment features enabled.
By following these steps, you can successfully integrate Stripe with Power Pages, providing a smooth and secure payment experience for your users. For more detailed information, refer to the official Microsoft documentation and the Stripe documentation.
Happy integrating!