Azure portal makes it really easy to get started with and creating and managing Logic Apps, with all the built-in connectors and easy interactive orchestration UI you can be up and running with your integration in a couple of hours.
But what if you want to manage your code in TFS or Git or any other source control system. Working and creating Logic App in Azure is great but as DEv we enjoy the comfort that Visual Studio offers.
Good news is that you can create manage and deploy logic App from within Visual Studio and it’s better if you have become familiar with creating Logic Apps from Code View Interface.
In order to get Started with Logic App, you need to install Azure Logic apps tools for VS.
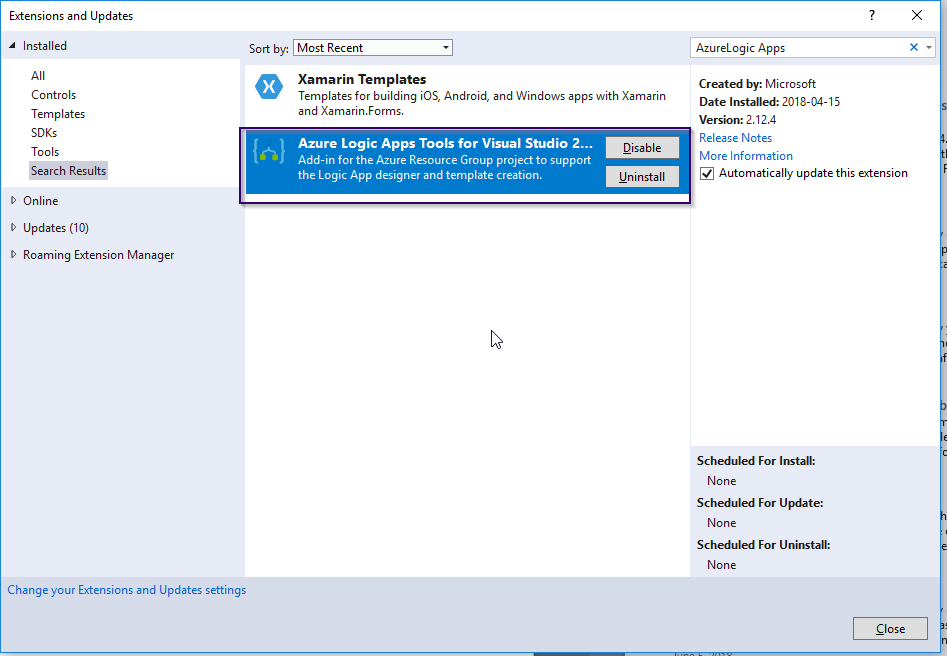
Once Installed you are ready to write your first Logic App from VS, Start by Creating new Project of type Arm.
Once you select your Project you will be asked to select the Type of Azure component you are creating. For our purpose, we will select Azure Logic App.
This will create a new Project in your Solution. The Project will have two files.
- LogicApp.json
- LogicApp.parameters.json
You can rename the files to your needs. Best practice is to rename the parameter file prefix to be same as logic app file. A parameter file is used to have deployment time values for deploying to a different environment.
In order to start orchestrating Logic app, Right click on Logic App file and select “Open with Logic App Designer’, this will prompt you for Azure subscription and resource group details
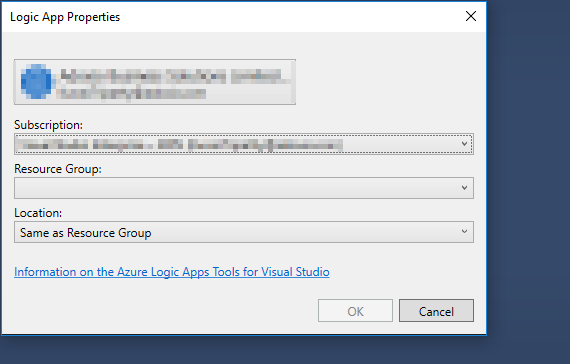
This will bring up the familiar-looking interface for creating Logic Apps.
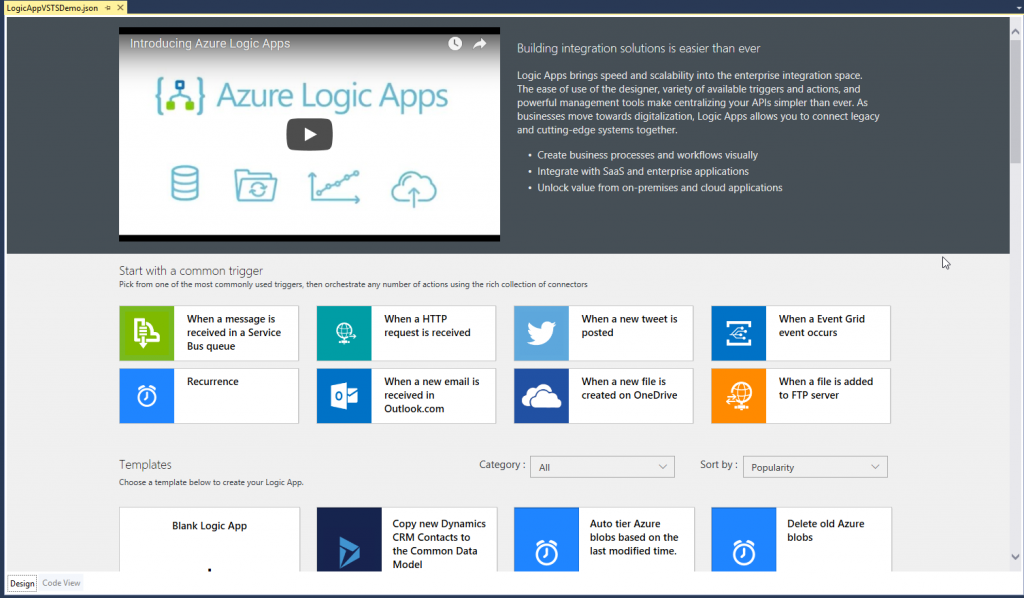
Now you follow the same steps as you do on Azure Portal for creating the Logic App, You may reference this blog post if you are new to Logic Apps.
For this, I am using the logic app example from Integration with Microsoft Dynamics 365 using Azure Logic App Service, The logic app have a Dynamics 365 connector and it is also using an Http connector to speak with VSTS.
Once you have created your logic app, you can test, deploy and manage from Visual Studio.
In order to deploy your logic app, right click on the solution and click Deploy. This will bring the deployment window and ask for which logic app to deploy and which parameters file to use. Select appropriate and hit deploy.
Once logic app is deployed, you are free to edit them from Azure or Visual Studio, when you are ready to edit them again in visual Studio, simply use refresh option.
You can also manage other/ previously. created logic apps from visual studio through Cloud explorer.
Using Cloud Explorer you can manage the exiting logic apps, add them to visual studio, check the run history.
Hope this helps you get started with working on Logic Apps from within Visual Studio, this is a 2 part blog and in the next blog post, i will talk about how to work with parameters file you better manage DevOps and ALM process for Logic Apps while integrating it with Dynamics 365.